Connecting Peripherals to a PC
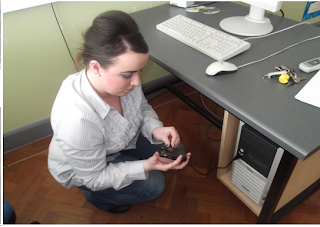
In my photographs and print screens below I will be showing you how to safely connect peripherals to a PC safely such as speakers and a digital camera. The print screens will show the step by step process of safely uploading photographs from a digital camera to your H.Drive.
In this picture I am switching off the main source of electricity which is the wall sockets before inserting the speakers and camera.
This is a picture of the CPU (Central Processing Unit) before the speakers were inserted.
This is a picture of me inserting the speakers into the Central Processing Unit.
Here are some screen shots of me uploading pictures of me safely inserting speakers and a USB lead into the CPU from a digital camera to my H.Drive.
Step 1…Go to computer and click on FinePix1x300 and then click into External memory as shown below
Step 2….Double click on the DCM folder.
Step 3…Then double click on the 100-FUJI folder.
Step 4…You then click on the photos of yourself.
Step 5…Then drag your photos to your H.Drive to your Computer Systems folder and this is the process complete.


No comments:
Post a Comment